REINHOCH – quality procedures
REINHOCH – steering and suspension parts
Following the rule that it is always better to prevent illness than to heal it, all the REINHOCH brand parts are a subject to multi-level Quality Control. Starting with design assumptions, through the realization phase on proven production lines, quality control and testing before launching sale of products, to monitoring their durability and wear and tear, we are collecting feedback and implementing corrections to increase customer satisfaction. It is really important to catch errors at a very early stage, in order to minimize the cost and effects of possible malfunctions and their repair.
We want to show the procedures and quality tools that we are using in our Laboratory, for possibly early and most effectively finding potential discrepancies in production phase and qualifying products for sale.
Material control - Spectrometry

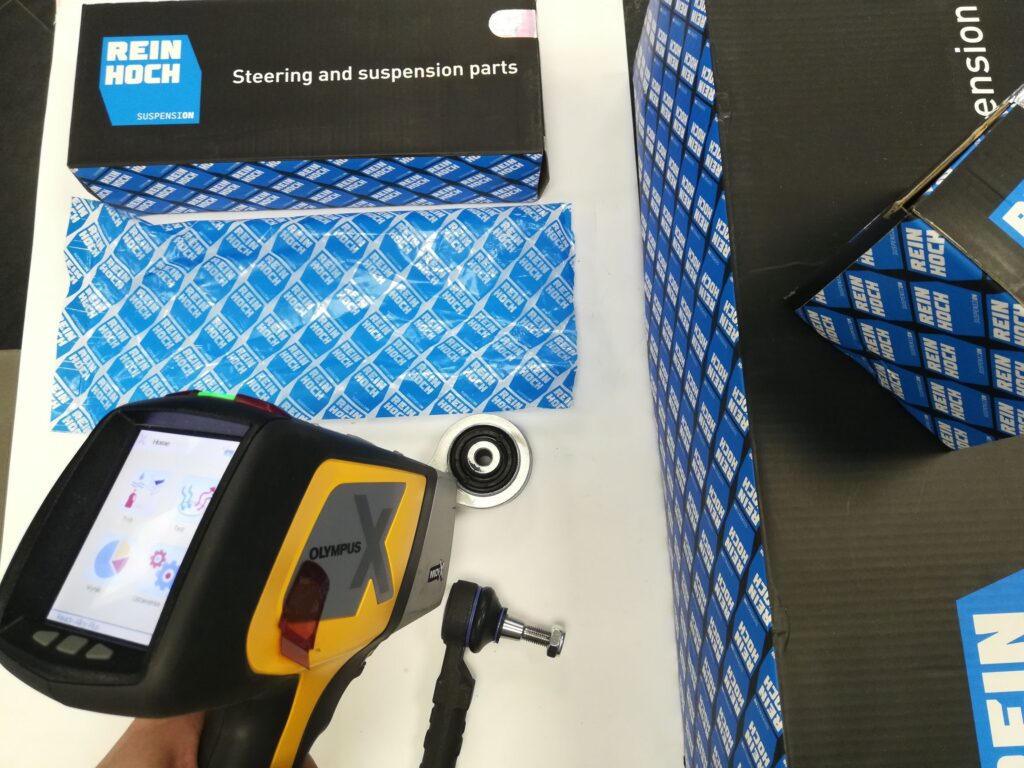
A very useful tool which provides possibility of performing analysis of chemical composition of tested materials. Thanks to the use of high-frequency radiation technology the method provides a possibility of fast identification of elements (e.g. alloy additives in steel). And the XRF method, i.e. X-ray fluorescence spectroscopy is a non-destructive analytical technique used to determine the elemental composition of materials. What is more, thanks to a small weight of the device, it can be moved and transported to a selected place, e.g. to warehouse where the goods are being delivered, to be able to control the whole batch of delivered goods.
Thanks to a wide range of data from the spectrometer, software identifies the most probable type of material, with quantity definition of particular additives. It is especially important in case of spare parts, in which special alloy additives are used in the composition of materials, in order to improve durability and strength of material.
Quality control of randomly selected elements provide the possibility of confirming compliance of materials with declarations of spare parts suppliers. Unfortunately, sometimes it happens that dishonest suppliers, in order to limit the cost of production, use materials of worse quality.
Material control - Hardness

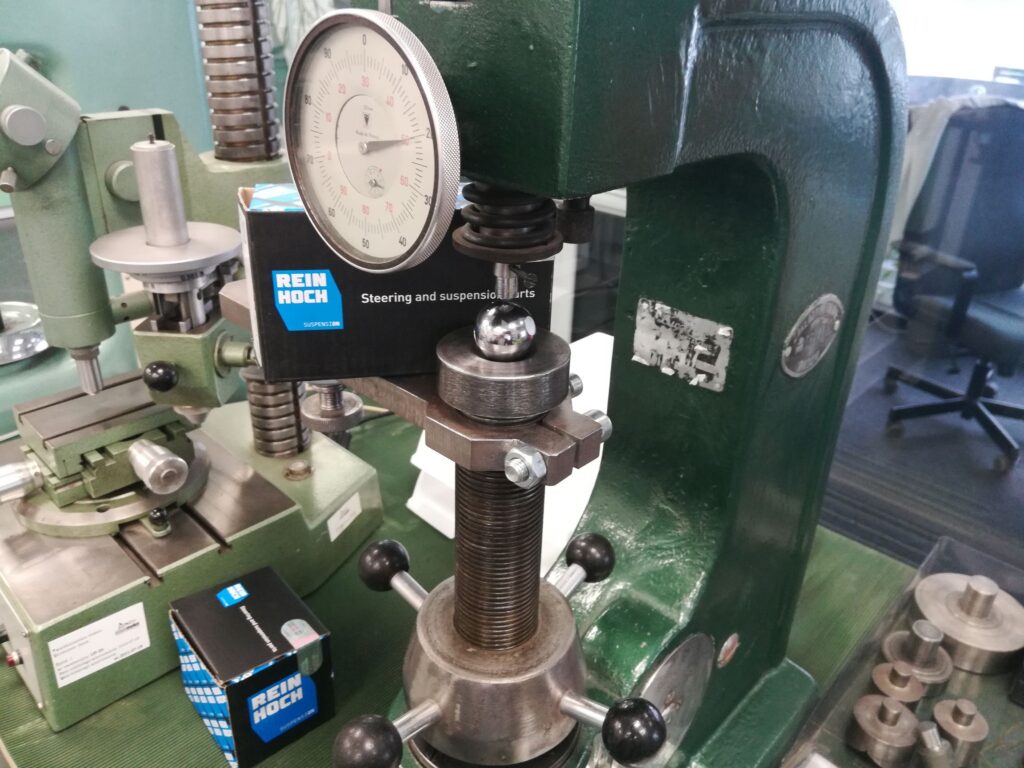
The test requires proper preparation of samples (inclusion), in order to stabilize material and enable a „sting” on the tested surface. So, one needs more time and properly equipped laboratory booth to perform such a test. Unfortunately, the method is destructive to samples, as an element has to be cut precisely (in order not to overheat the tester surface) from the whole part, and next a sampler is pressed into a working surface. On the basis of a size of the stamp, one determines how much the tested material is prone to deformation, and also the durability of the material. For steel, this is also the first stage of material durability testing.
Material control - Metallography
Technique that is really time consuming and requires precise surface machining of the tested materials, in order to „uncover” granularity of the structure. Whereas observation of the structure using a microscope, when the sample material had been prepared properly, is a “mine” of knowledge about the condition of materials used for production. Only this way one can determine effectively all the errors which appear during thermal and chemical treatment, e.g. presence of Widmanstätten patterns, also known as Thomson structures, or non-metallic precipitation, having negative impact on durability of material. Surely an experienced laboratory worker, who can remove layers of material with great skill and easily, to prepare proper surface for testing, is a must.
Sometimes it happens that manufacturing errors (decarburisation, contamination, excessive grain size) cause drastic changes in durability of products, and can even be the cause of accidents resulting from material fatigue. It also happens that it is not possible to detect these irregularities using any other testing method.
Material durability

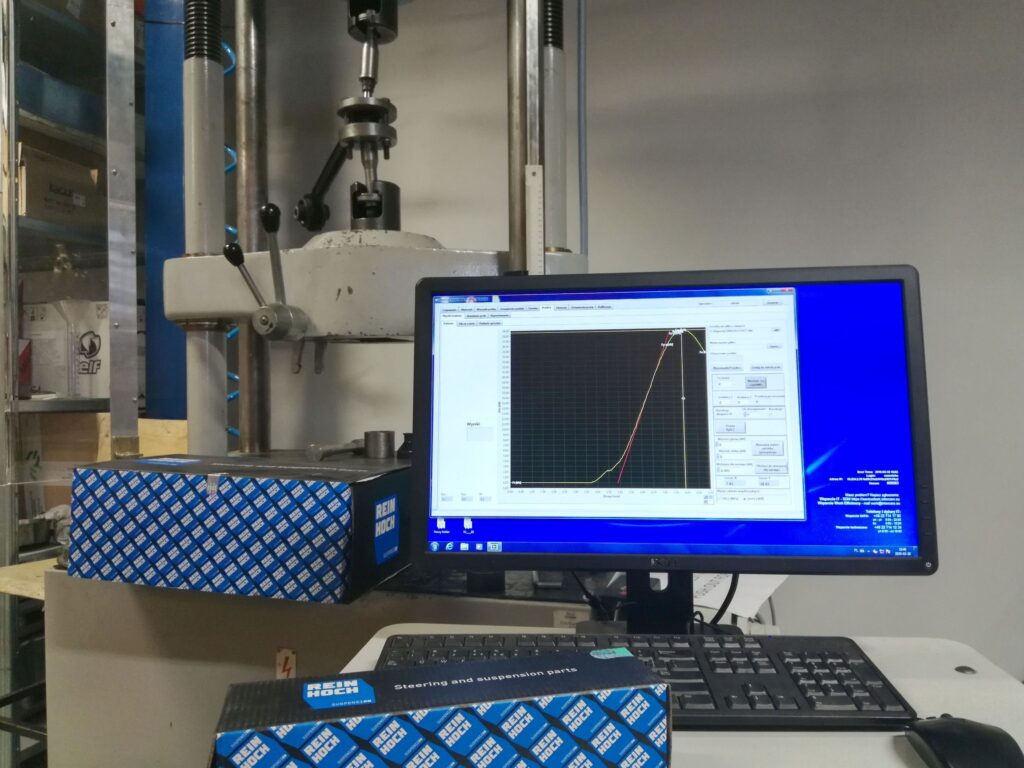
Testing material durability has a very wide range of applications, starting with tests on basic elements and their pull force testing, through tests of compressive strength, and ending with tearing strength tests (e.g. tie rod ends or ball joints) – a very important matter when talking about safety of driving. Thanks to special software there is a possibility of programming wear and tear tests and also fatigue tests. The method makes it possible to perform functional tests, connected with dislocation of elements and testing their scope and forces.
Testing resistance to corrosion in a salt chamber
In a nutshell, in a salt chamber we have the possibility of recreating weather conditions in which the spare parts are being used. What is more, thanks to the possibility of increasing the contents of damaging factors, we are able to speed up the process of wear and tear. Only here we can observe if anticorrosion measures and methods are really effective. By adjustment of, among other things, temperature, salinity, or time of exposure to a particular factor, we are able to compare samples from various suppliers and choose the most optimal one.
Testing resistance of rubber elements to ozone
We all know that the whole part is only as strong as its weakest element. In case of automotive spare parts, such elements are very often all types of rubber boots and seals. Even the smallest cut of a boot leads to dirt getting to the work surface of ball joints of ball bearings. Dust, mud and sand work like friction material on the surface of working elements, leading to immediate wear.
Therefore, in order to examine resistance of rubber elements to weather conditions, to a specially heated chamber, concentrated ozone is being injected (it is a more aggressive form of oxygen). At the same time, the sample is being stretched and compressed cyclically, in order to expose the surface of the material to the particles of oxygen. After several days of testing, the surface of rubber boot is being controlled in order to detect any possible micro-cracks.
Having done that, we are able to predict what will happen to e.g. rubber boot after a year or two of its use.
Geometric measurements

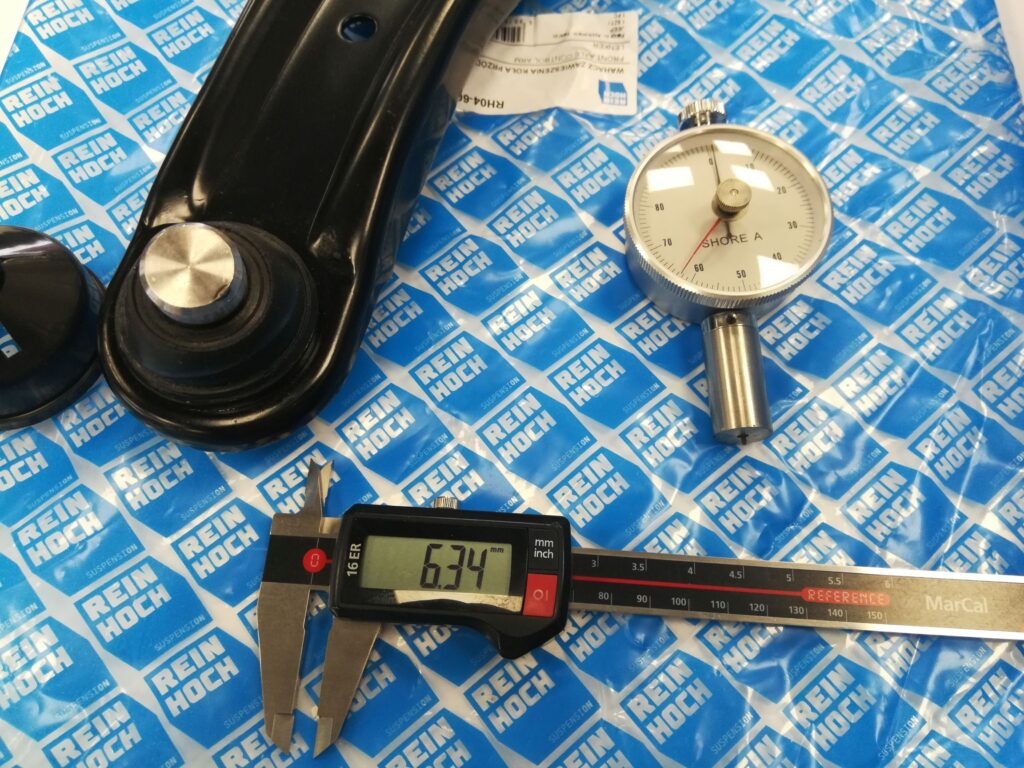
Almost every Laboratory which performs tests on automotive spare parts has a well-equipped booth for doing geometric tests. Attention to reliability of geometric test results require such devices and measurement tools to be appropriately calibrated and stored. Even small changes of temperature can cause changes in measurement results. Consequently, equally important are conditions in which such measurements are carried out. Measurement laboratory also means suitable condition of temperature, humidity or air flow. However, properly trained and experienced employees are the most important here, equally efficient and effective during the first measurement and also during the hundredth measurement of a similar element.
Measuring all the declared parameters from technical drawings makes it possible to check and confirm compliance of the products with declaration of the manufacturer and acceptable tolerance. Moreover, when performing regular controls of samples from the same reference, it is possible to check production capability of the suppliers, meaning precision of manufacturing of spare parts and keeping all the parameters within tolerance. As a result, we have the possibility of selecting only the most reliable manufacturer of our spare parts.